Arduino > Potentiomètre
Contents (hide)
1. Description
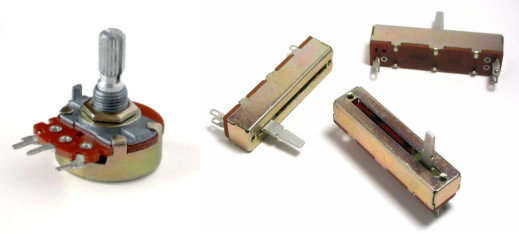
Un potentiomètre peut servir à mesurer une rotation ou une translation. Il doit être branché à une entrée analogique de l'Arduino et ne nécessite pas de composants supplémentaires.
Électriquement parlant, un potentiomètre est un dispositif dont la valeur de résistance varie proportionnellement à la distance entre ses bornes et le curseur. Il est utilisé, par exemple dans une source de tension variable et fonctionne selon le même principe qu'un diviseur de tension.
Habituellement, les bornes 5V et Gnd sont interchangeables.


2. Branchement


Brancher le potentiomètre à une entrée analogique et lire la distance mesurée avec la fonction analogRead(A#) :
int lecture = analogRead(A0);
«A potentiometer is a simple knob that provides a variable resistance, which we can read into the Arduino board as an analog value.
We connect three wires to the Arduino board. The first goes to ground from one of the outer pins of the potentiometer. The second goes from 5 volts to the other outer pin of the potentiometer. The third goes from analog input 2 to the middle pin of the potentiometer.
By turning the shaft of the potentiometer, we change the amount of resistence on either side of the wiper which is connected to the center pin of the potentiometer. This changes the relative "closeness" of that pin to 5 volts and ground, giving us a different analog input. When the shaft is turned all the way in one direction, there are 0 volts going to the pin, and we read 0. When the shaft is turned all the way in the other direction, there are 5 volts going to the pin and we read 1023. In between, analogRead() returns a number between 0 and 1023 that is proportional to the amount of voltage being applied to the pin.» https://www.arduino.cc/en/tutorial/potentiometer
3. Envoyer la lecture analogique au moniteur série
void setup() {
        // CONFIGURER LA COMMUNICATION SERIE
        Serial.begin(57600);
}

void loop() {
        // FAIRE UNE LECTURE ANALOGIQUE
        int lecture = analogRead(A0);

        // ENVOYER LA LECTURE
        Serial.println( lecture );

        // PRENDRE UNE PETITE PAUSE
        delay(100);
}

